Efficient House Cleaning Tips
1- Kitchen
It's far easier than you think to have a perfect clean kitchen — it's all about staying on top of the little things so you don't have to perform a deep clean-up many times a week.
There are steps to follow when preparing your dinner that will help with the mess you make and keep your kitchen clean without any hassle.If you want to save time cleaning while still maintaining the appearance of a beautiful kitchen, read our blog and follow our tips.
- Clean splashes and spills as you are cooking.
- Get rid of the grease:
We have an excellent selection of products to remove grease from any surface of your kitchen.
HG grease away degreaser spray is safe to use on all types of surfaces. Perfect as a kitchen degreaser for hob and cooker hood. But this degreaser cleaner is also perfect for degreasing the hob or tiles. HG grease away is the perfect heavy duty kitchen degreaser spray suitable for ceramic tiles and synthetics. Ideal degreaser for simple and complete degreasing in the kitchen after cooking.
How do you use it ?
1- Spray the surface with HG grease away and leave it to work for a few seconds.
2- During use on stainless steel, it is important to spray the product onto a clean cloth first and then clean the stainless steel.
3- Then wipe off the grease with a cloth, preferably soaked in hot water.
4- Depending on the degree of soiling, repeat the treatment.- Catch any fallen food
- Keep Countertops and Other Kitchen Surfaces Dry: Bacteria, mold, and fungus thrive in damp conditions. Keeping your counters dry reduces the attraction of microorganisms. Clean your countertops on a regular basis, but after doing it, dry them with a clean cloth.
- Wipe out places on your countertops and around your sink where steam collects or condensation accumulates.
- Don’t let dirty pans and dishes pilling up: Cleaning your pans after each use will not only make your kitchen more sanitary, but it will also ensure that nothing burns onto your cooker from the bottom of your pan. Keeping an eye on your pans while they're in use will help you prevent burning the bottoms of your pots.
- We all know that a microwave can save you a lot of time, but keeping it clean its very important for health and safety reasons. We have a great selection of microwave cleaners at a very good price. Click here to view it.
2- Bathroom Cleaning
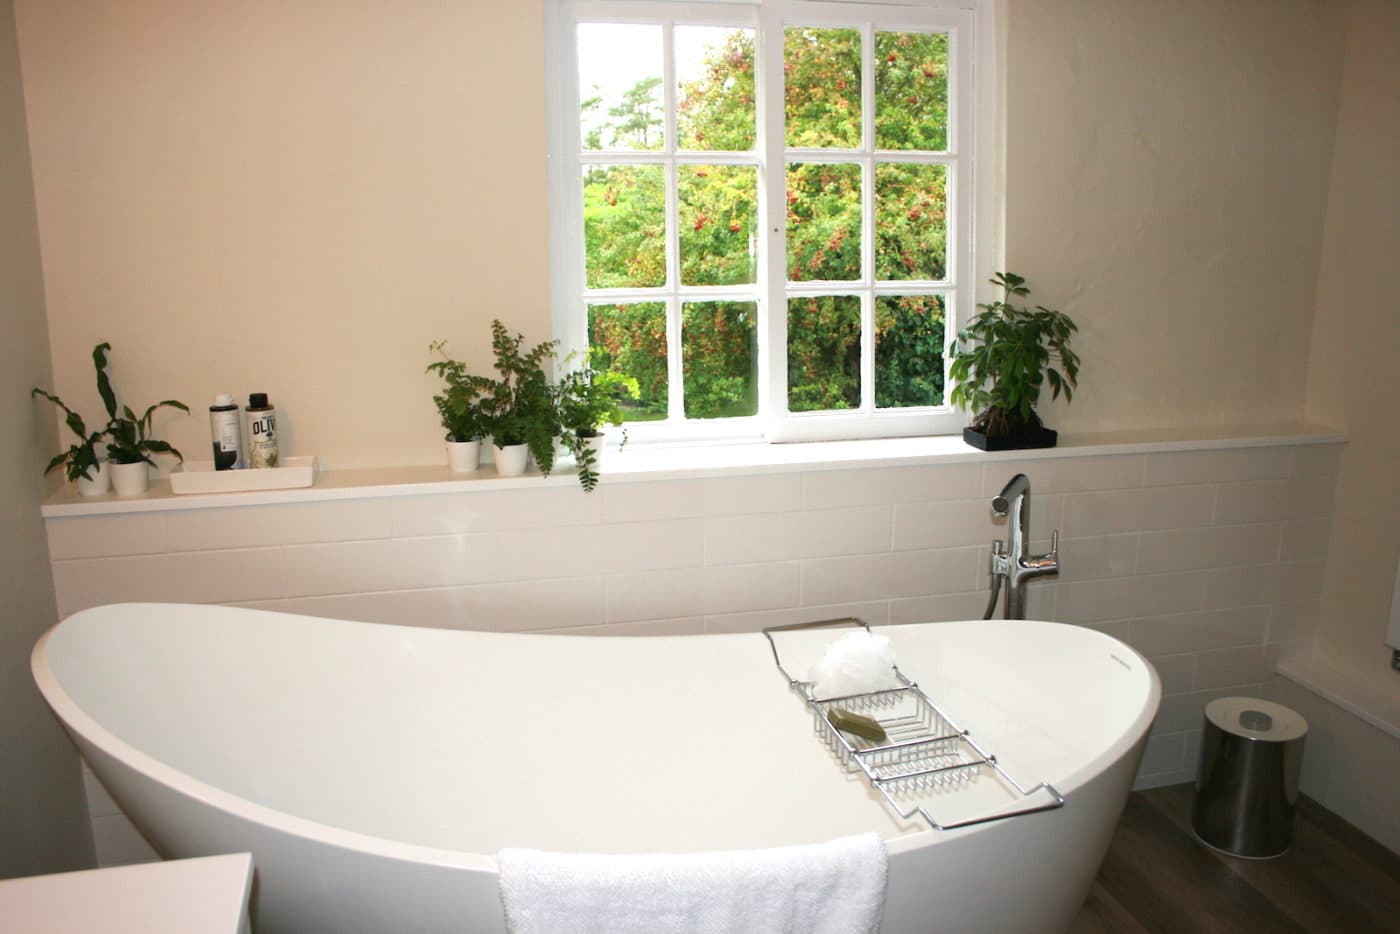
Cleaning the bathroom isn't the most glamorous way to spend your time. Nonetheless, it's a necessary task, and we'll confess that the gleam of limescale-free taps and a spotless shower screen can be rather rewarding.
1- Toilet:
Squirt toilet cleaner around the rim of the toilet and let it work its magic while you take care of the rest of your responsibilities. Return with a stiff-bristled toilet brush and scour the bowl thoroughly before flushing. Pour a cup of bicarbonate of soda down the bowl once a week to neutralize odors, or install an in-cistern cleaner to sanitize it after each use. Before drying, wipe the handle with disinfectant and let it work for five minutes.
Most bathroom cleaning checklists include bleach. You could be making the typical mistake of using it with warm water, whether you use it diluted to swirl about the sink or a stronger bleach solution to whiten grout. Whenever using bleach, always use cold water, hot water can make the active chemicals in bleach ineffective.
2- Properly Clean Your Bins
Freshen the inside of your empty bin with Jeyes Freshbin powder , Bin Buddy or bicarbonate of soda, then spray with disinfectant and wipe dry. If the bin's interior requires more than a cursory clean, hose it down in the shower after emptying to remove product residues and grime.
3- Keep your Bath Clean.
Rinse the bath immediately after soaking, as leftover bubble bath/oils might be difficult to remove once dry. Spray liberally with bathroom cleaning to remove tidemarks and built-up filth, then walk away. Allow at least 15 minutes for the cleaning ingredient to work before wiping and rinsing. Fill your tub with warm water and a couple of scoops of Bio washing powder if it's particularly filthy.
4- Keep your Plughole Clean
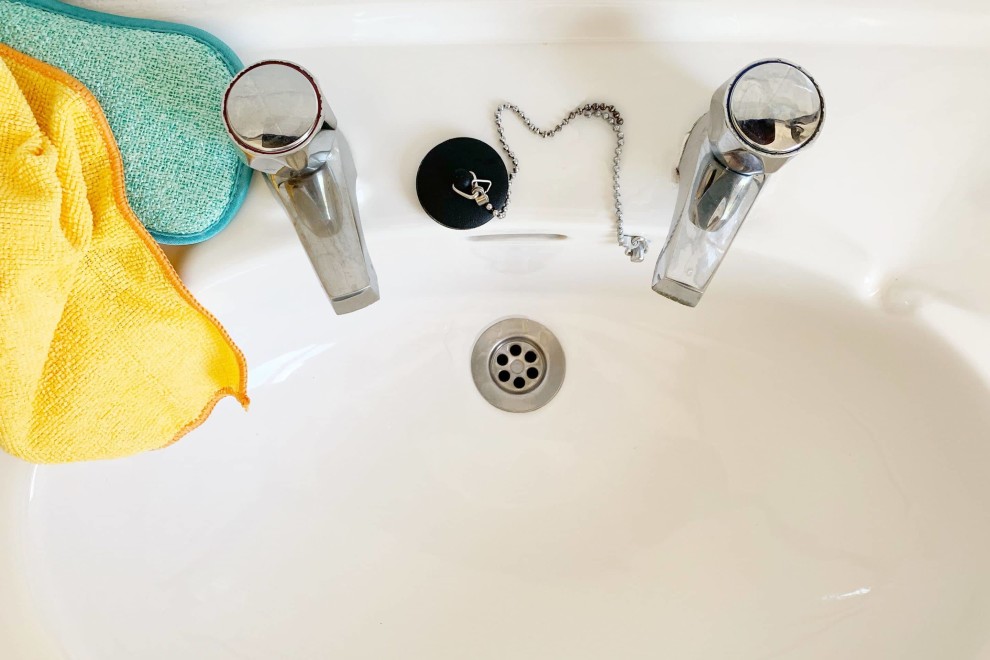
Always wearing rubber gloves to protect your skin, pour a cup of soda crystals down the plughole, followed by boiling water, to keep drains clear. This will also assist to remove grease, soap scum, and odors.
5- No Stains on Your Mirror
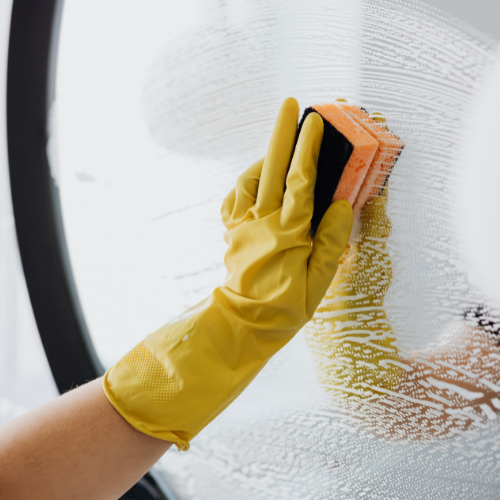
With a soft cloth and a little rubbing alcohol, wipe away splatters of sun cream, toothpaste, moisturizer, and other products from your mirror. Then, using a fine microfibre cloth and glass cleaner or simple water, work from edge to edge and then top to bottom. Leftover streaks can be rubbed away with a paper towel and a little white vinegar for an additional sheen.
6- Removing Limescale
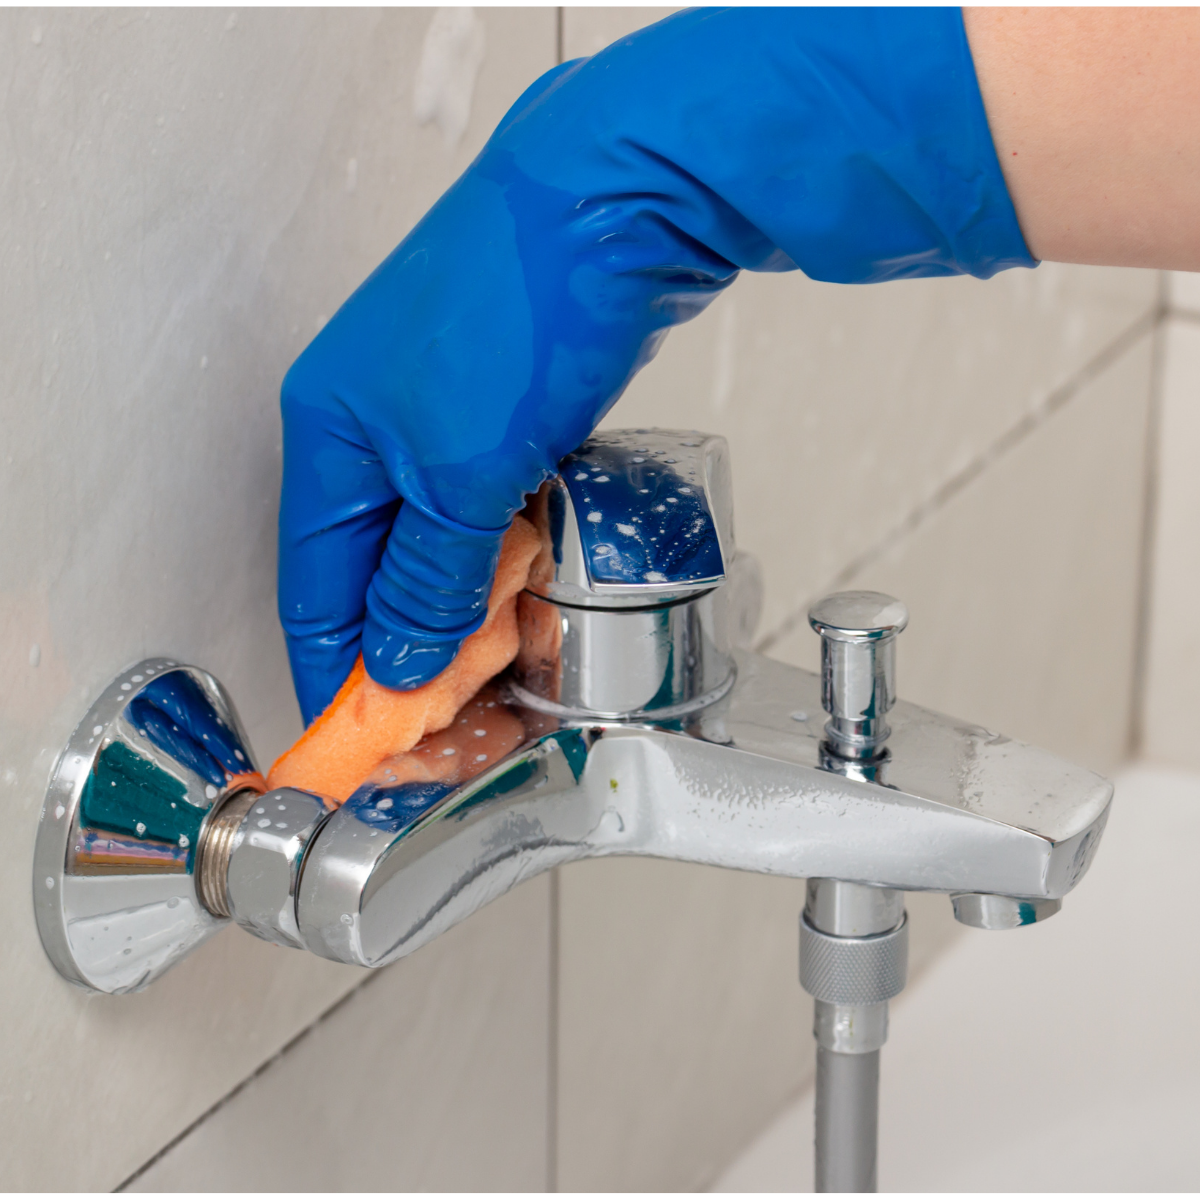
HG limescale remover concentrate is the ideal strong limescale remover for removing stubborn limescale. This heavy duty limescale remover also removes rust and urine stains as well as verdigris. HG limescale remover concentrate is powerful yet safe for all the materials that are used in a bathroom or toilet, including chrome, stainless steel, ceramic, glaze, glass and plastic. In addition to HG limescale remover concentrate 500ml, HG also has a 1 litre version.
How do you use HG limescale remover concentrate?
Follow the steps below to effectively remove limescale and limestone with HG limescale remover concentrate (500ml):
- Depending on the amount of dirt, HG limescale remover concentrate is either used undiluted or diluted with water to a solution of 1:10.
- Apply the strong limescale remover with a sponge.
- Leave to work for a few minutes, wipe off with water and rinse.
- Submerge clogged showerheads in HG limescale remover concentrate for 30 minutes and then scrub with a brush.
- Your limescale has disappeared!
If you have a shower curtain rather than a screen, try to get into the habit of stretching it out to help it dry.
7- Keep your Bathroom well vent.
When you shower, turn on the extractor fan or open the bathroom window to avoid the growth of ugly mould. Do you need to get rid of mold that has already grown on your property? If you can't machine-wash mold-stained shower curtains, soak them in a diluted bleach solution to remove them. On any residual discolored grout, use HG Mould Spray.
3- Floor Cleaning
There's only one cleaning duty left after tidying, dusting, and vacuuming: cleaning the floor. However, not all floors should be cleaned the same manner, and using the incorrect product can damage you floor.
Cleaning a carpet
This is the finest technique to clean your floor if you have a carpet cleaning machine. If you don't have one, you can still perform a decent job.
Begin by treating any stains on the spot. For stain removal, we recommend Dr Beckmann Carpet Stain Remover. Simply follow the manufacturer's directions, but keep in mind that it's always ideal to attack stains as soon as possible. The longer you wait to remove a stain, the more difficult it will be.
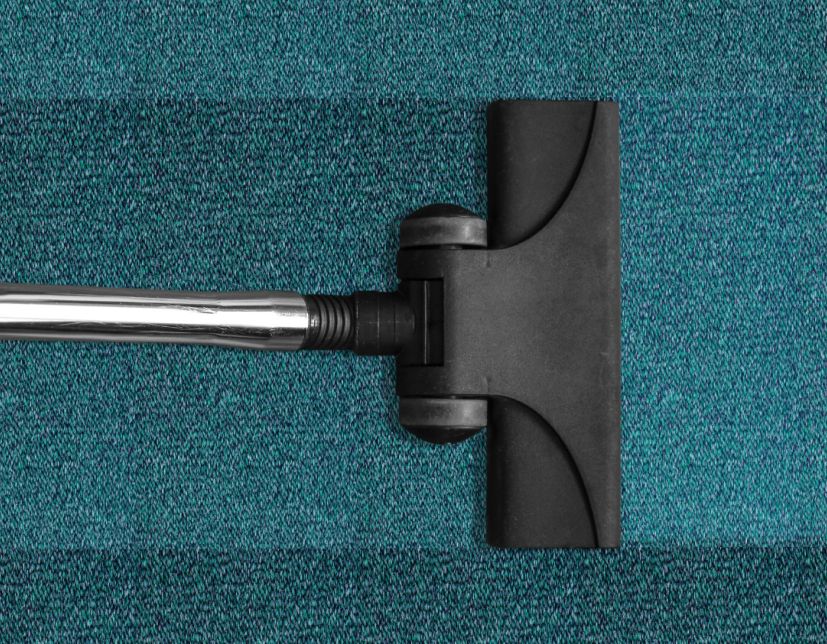
After that, use your vacuum to clean the carpet. Use your vacuum accessories to clean hard-to-reach spots after you've gone over it once. Vacuum the borders of your carpet and under radiators with the crevice tool to avoid black lines forming around.
Wood Floor
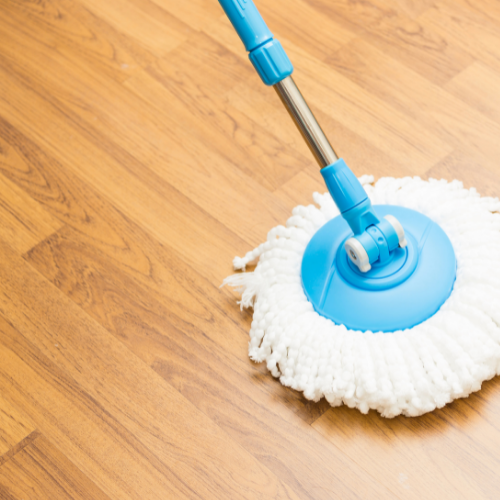
Floors that have been sealed merely need to be swept and damp-mopped. If you use too much water, the wood may expand and split.
Unsealed and waxed floors should be swept and re-polished on a regular basis. Apply wax sparingly, since too much will leave a tacky residue that will collect dirt, and then buff thoroughly. Apply a non-slip floor polish if worn spots emerge on the surface.
Over time, shine and dirt accumulate on a waxed floor. It can only be cleaned by removing the wax and starting over. Use a white spirit-moistened cloth. Allow it to soak in, then wipe it away with folded newspaper as the wax and grime disintegrate. Scrub recalcitrant sections with a floor polisher's abrasive pads or by hand.
Damp-mop with clean water once all of the polish has been removed. Allow it to completely dry before adding new polish in small sections.
For protecting your woodenwe stock Ronseal Wood Floor Cleaner - 750ml
Laminate Floors
Vacuum, dust, or wipe with a gently soaked mop – avoid over-wetting and never use soap-based detergents, as they can leave a dull film on the floor. Also, avoid using wax polish, since it will make the floor slick.
A weak solution of water and vinegar can be used to remove markings and stains. Abrasive cleaners, such as nylon scouring pads or steel wool, should be avoided since they can demage laminate.
Felt pads under furniture legs can be very helpful to protect your laminate floor to get scratched.
We Recomend HG Laminate Wash & Shine Gloss Cleaner .
Cleaning with Oxalic Acid
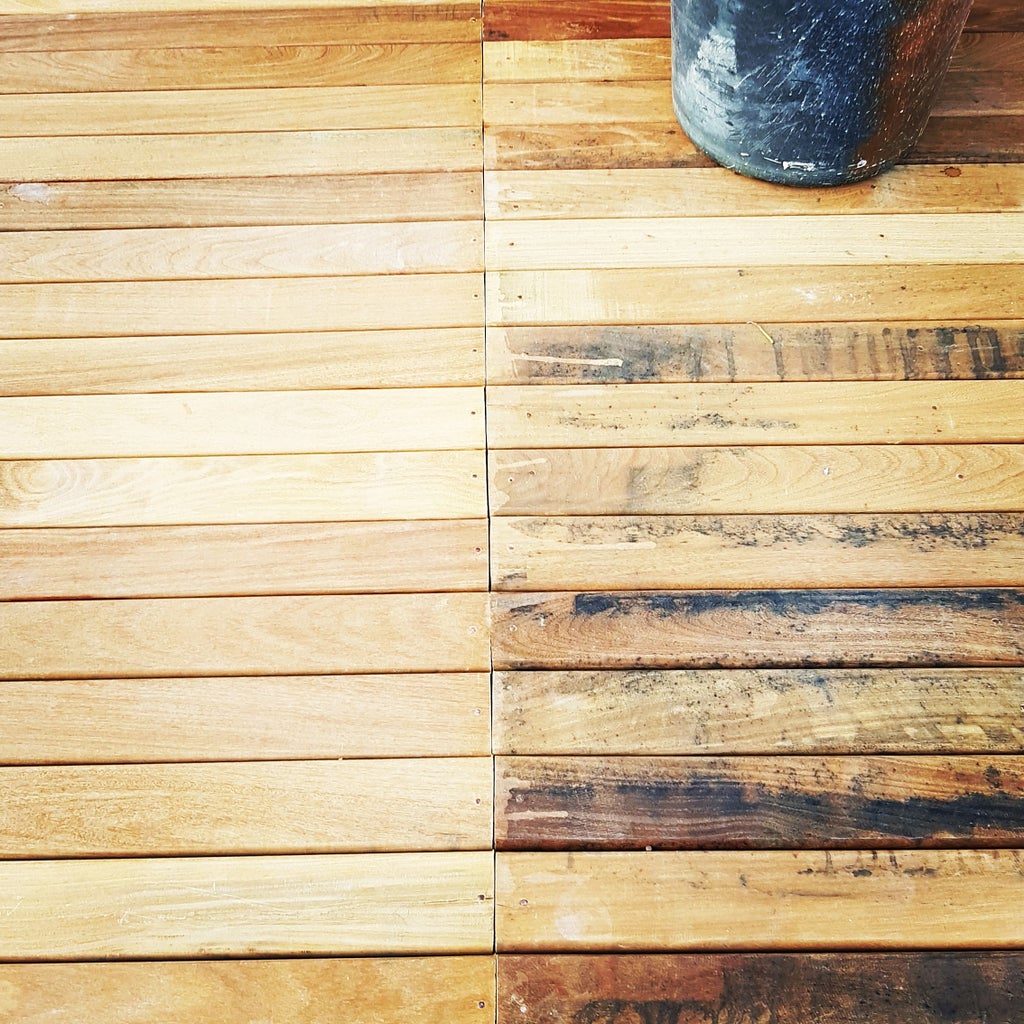
Pre-clean the stained area by removing any dirt, grease, grime, or debris from the surface, using soap and hot water if necessary. After you've pre-cleaned the stained area, you'll need to make an Oxalic Acid solution.
Oxalic comes in the form of a dry crystal that is normally blended with warm or hot water to make a cleaning solution. To remove stains, spray the solution onto the stained area and scrub it with a brush. When it comes to with oxalic, the product may need to sit on the stain for a while. Additionally, heavily discoloured sections may require numerous cleanings. After cleaning with an Oxalic Acid solution, thoroughly rinse the surface with lots of water and allow it to dry.
What is the recommended dosage of oxalic acid? The ratio of Oxalic Acid to water will vary depending on the application for best efficiency.
Add one cup of Oxalic Acid per gallon of warm water to outdoor places such as concrete driveways, sidewalks, and buildings. Use two cups of oxalic acid crystals per gallon of hot water to clean wood. Pre-clean metal equipment parts with soap and water to eliminate grease and grime before attempting to remove rust. Metal parts can be immersed in a ten-to-one solution of water and oxalic acid. It may be necessary to soak for up to a day to completely eliminate all of the rust. Rinse and dry pieces that have been cleaned.


