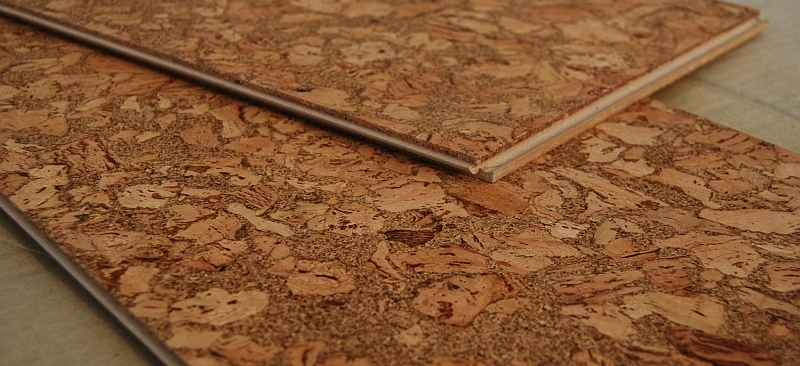
We'll show you everything you need to install a cork floor. Cork flooring is a natural, renewable product that’s easy to install yourself with basic tools. It's also attractive, quiet underfoot and easy to clean. It's a great choice for living rooms, offices and even the kitchen.
Please Note: The following instructions are to be used as a guide only.
This article is divided into 3 main sections:
- What you need to do to prepare your floor
- Which adhesive to use
- Laying cork tiles
Preparation
Suitable sub-floors on which to lay are un-sealed concrete and nailed plywood or hardboard.
Vinyl and other existing floors should be removed. Concrete floors must be at least 6 months old and have an effective damp proof membrane. It is important that the sub-floor is smooth, level, clean and thoroughly dry.
Open the packs and leave the tiles to acclimatise for 48 hours in warm, dry indoor conditions preferably in the room in which they are to be laid.
Adhesive
Using Nicoline High Performance Cork Adhesive, proceed in warm dry conditions. Apply the adhesive directly to the sub-floor using the notched spreader supplied.
Do not over apply the adhesive but do give 100% coverage to the sub-floor.
Cork
Try a test tile before completing the remainder of the floor to ascertain correct adhesion. If any problems arise then cease laying the floor and seek advice from the manufacturers.
Position the tiles into the adhesive whilst it is still wet. Re-check the tiles after 15 minutes pressing the tiles firmly, including the edges. Remove any excess adhesive using a damp cloth immediately.
Tough, warm and beautiful cork floor tiles. The rich golden texture of these tiles will add warmth and vitality to any room and because they are natural cork they will never go out of fashion and will stay looking good with very little attention.
Check out our full range of Cork Tiles.
- Cleaning & Chemicals (14)
- Plumbing (2)
- Greenhouse (13)
- Electrical (8)
- Locks & Security (2)
- Heating (10)
- Natural Products (7)
- Tools (5)
- Paint (16)
- Garden (45)
- Pest Control (8)
- About Lenehans (2)
- History (1)
- General Interest (8)
- Lighting (10)
- Home Safety (11)
- DIY (22)


